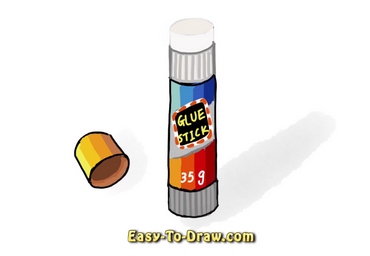
Glue Stick Step-by-Step Drawing Tutorial
Glue sticks are solid adhesives in twist or push-up tubes. Users can apply glue by holding the open tube, and keeping their fingers clean. Most glue sticks are designed to glue paper and card together, and are not as strong as some liquid based variants. They can be used for craft and design, office use and at school. There are now permanent, washable, acid-free, non-toxic, solvent free, and dyed (e.g. to see where the glue is being applied easier) varieties. These are most commonly used today.
Here are the steps to draw Glue Stick. Enjoy!
Step 1: Draw the outline of the body of the glue stick.
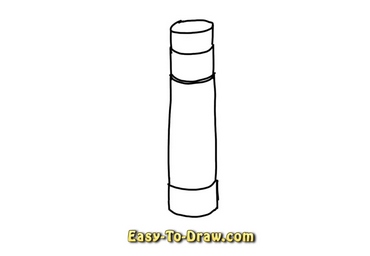
Step 2: Draw the lid of the glue stick on the left side.
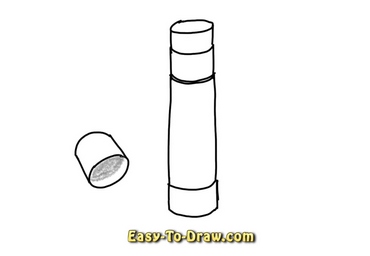
Step 3: Color the body of the glue stick.
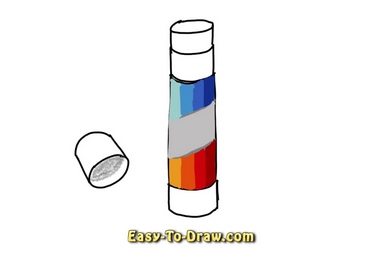
Step 4: Draw a label on the body of the glue stick.
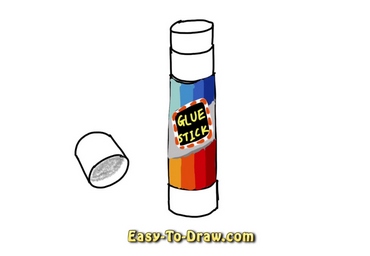
Step 5: Color the top and the bottom of the glue stick.
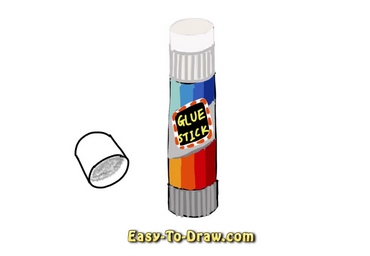
Step 6: Color the lid of the glue stick.
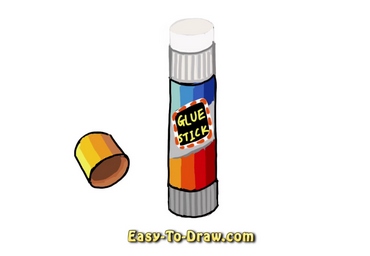
Step 7: Add the weight label and the shadows.

“Stick to the Glue” Song lyrics
Clapping hands one and two.
Clapping hands one and two.
But if one hand is covered with glue…
you stick to the glue my darling.
CHORUS:
Glue, glue, stick to the glue
Glue, glue, stick to the glue
Glue, glue, stick to the glue
Stick to the glue my darling.
Stamping feet one and two…
Shaking hands one and two…
Hugging friends one and two…
Brushing teeth one and two…
